
About:
You can grab quilt kits from my shop to make this! Check it out here:
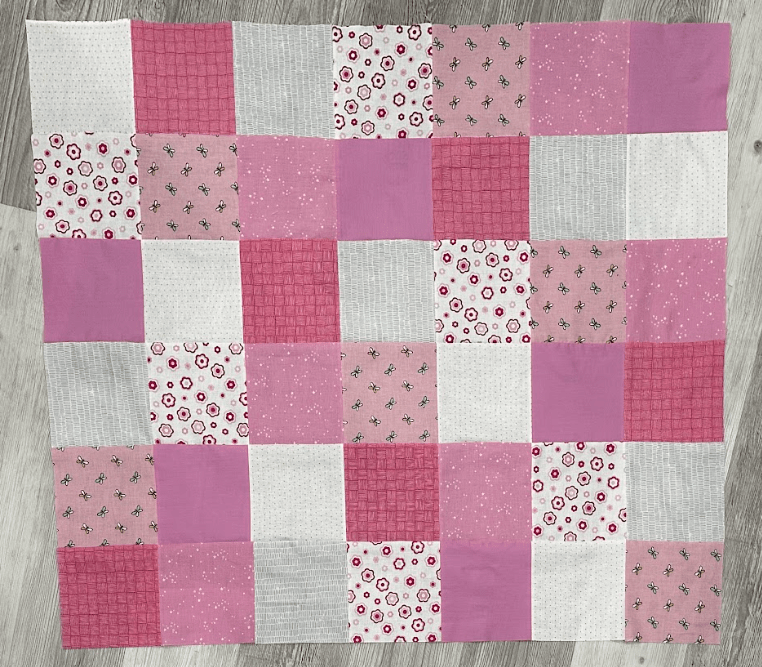
This baby quilt should measure 42×49 inches when you are finished. This pattern will require you to cut 6.5 inch squares from 7 fabric quarters and use a traditional piecing method to stitch them into rows, then stitch the rows together. Yardage is based on fabric that is at least 40” wide.
I wanted to write a pattern with directions that are super easy for someone who has little to no experience with quilting. This is a great pattern for beginners but is also a fun, quick project for a more experienced quilter!
Materials:
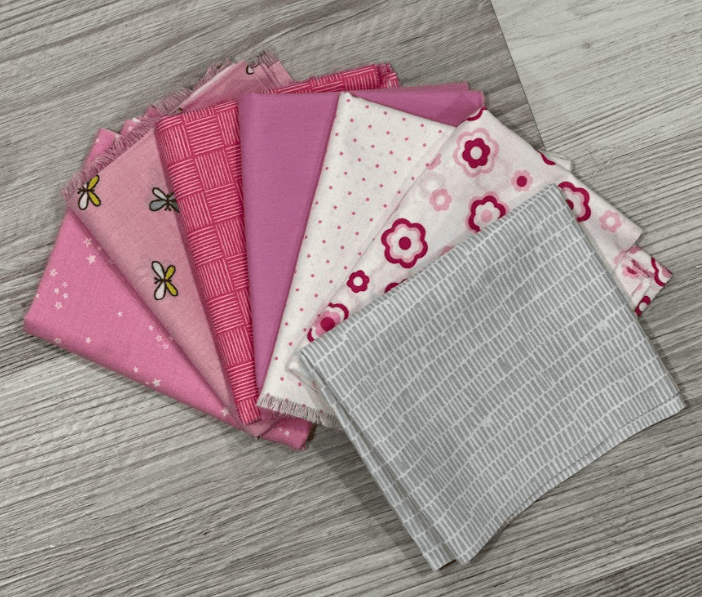
- 7 fabric quarters or fat quarters
- Batting (at least 47×54 inches)
- Backing fabric (1.5 yds)
Instructions:
Start by choosing 7 fabric quarters or 7 fat quarters that go well together. If you bought a kit from my shop, this step is already done for you!
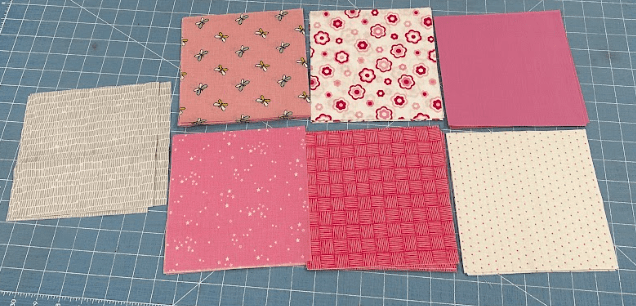
From each fabric quarter, cut 6 squares measuring 6.5 x 6.5 inches. You will need 42 squares.
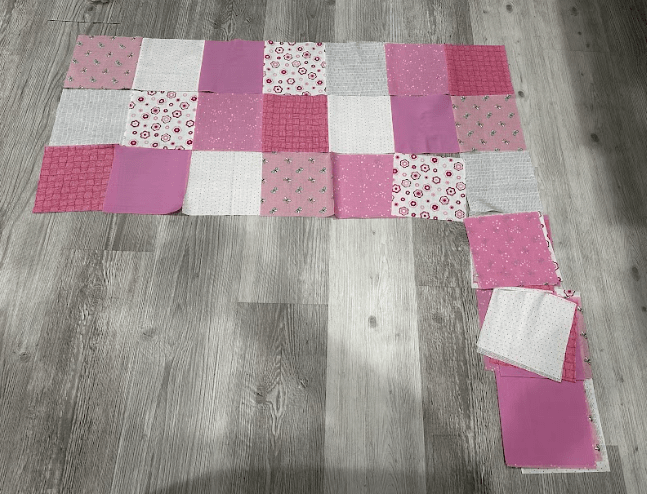
Lay your squares out into 6 rows of 7 squares each. I like to stack my rows to keep them organized as I move them to my machine.
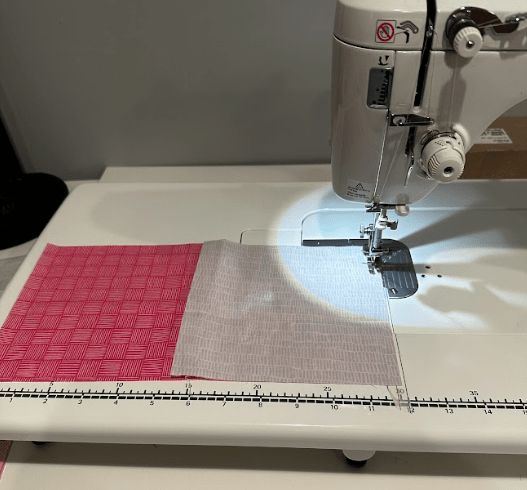
Once you are happy with the layout, begin sewing the squares together in rows. Be sure to sew them with the right sides together.
Press your seams open.
Sew your rows together, taking care to line up your seams.
Press your row seams open.
Create a quilt sandwich by layering your backing (face down,) batting, and quit top (face up) together.
Finally, quilt as desired OR reach out to KnottedTwists (me!) to have this top quilted for you.
And that’s it! I hope you enjoyed the free pattern and love your new quilt! Feel free to reach out with any questions or pictures of your finished product!
Happy Stitching!


Leave a comment